When in doubt err on the side of too.
Glitter vinyl bonded side up.
Take your weeding tool and scrape dig in the corner of the sheet.
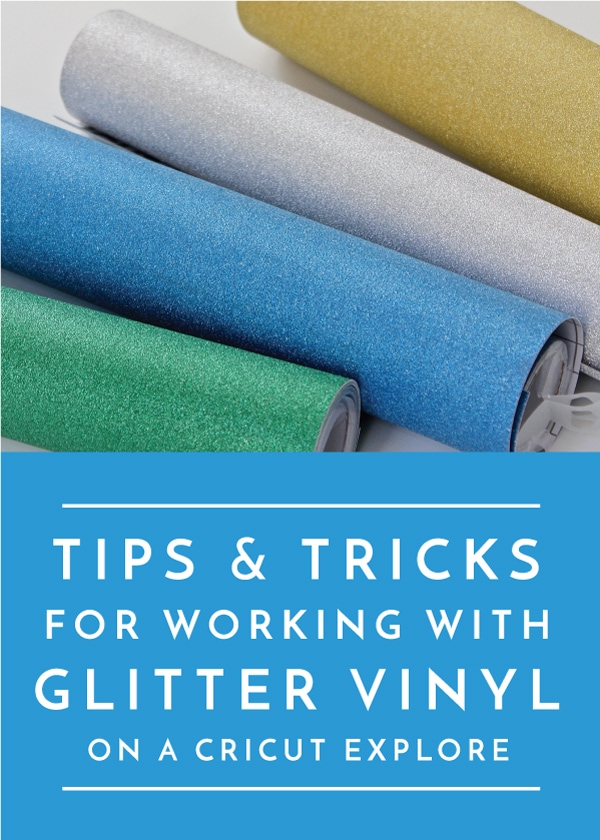
143vinyl formerly 651vinyl crafting cricut starcraft hd vinyl starcraft softflex siser easyweed and glitter htv styletech glitter vinyl and more.
Place the weeded image shiny liner side up onto the preheated material apply medium pressure to each area of your design with the iron for 25 30 seconds.
Place the weeded image liner side up onto the preheated material.
Flip the base material over and apply medium pressure with the iron to the back of the material for an additional 25 30 seconds use a cool peel to remove the liner.
If the vinyl does not separate from the liner simply burnish the transfer tape onto the vinyl and peel away again.
Cricut vinyl instructions say place material liner side down on to mat.
In the end if you re faced with two shiny sides the same color the slightly less shiny side is going to be the vinyl side.
Tutorial on how to use best creation s glitter iron on vinyl.
Glitter vinyl rolls include a sheet of stronggrip transfer tape for use with glitter vinyl.
Pick a side of the sheet that you suspect might be the cut side e g the white side of the sheet of red htv.
Peel away the vinyl liner at a 45 degree angle.
Apply medium pressure with the iron for 25 30 seconds.
The iron on vinyl is put onto the roll carrier side out which means the side that curls down is the carrier side and the side that curls up is the vinyl side.
When you first go to stick your glitter vinyl to your mat you may notice that is has a strong tendency to curl up on itself.
This is usually rolled up with the vinyl and can be found near the center of the roll.
It does say to mirror the image.
Flip the material over and apply medium pressure with the iron to the back of the material for an additional 25 30 seconds.
Feel free to leave a comment on any other tutorial.
I still can t tell which side i cut iron on vinyl on.
Applying the bonded fabric.
I don t know which side is the liner.
Glitter vinyl is a bit stiffer than standard vinyl so you may need to take extra care to make sure your vinyl is firmly secured to your mat before you start cutting or else you risk your designs not cutting well.
If you can get your tool under a layer of vinyl and pull it back then that s the side you should be cutting.
The letter o is with the bonded side up you can kind of see the shiny heat and bond.
There is a very high gloss side and a dull matte side with the glitter in between.
Again this can be done with a home iron the cricut easy press or your heat press.
Let cool 1 2 minutes then remove the lining.